1C integration
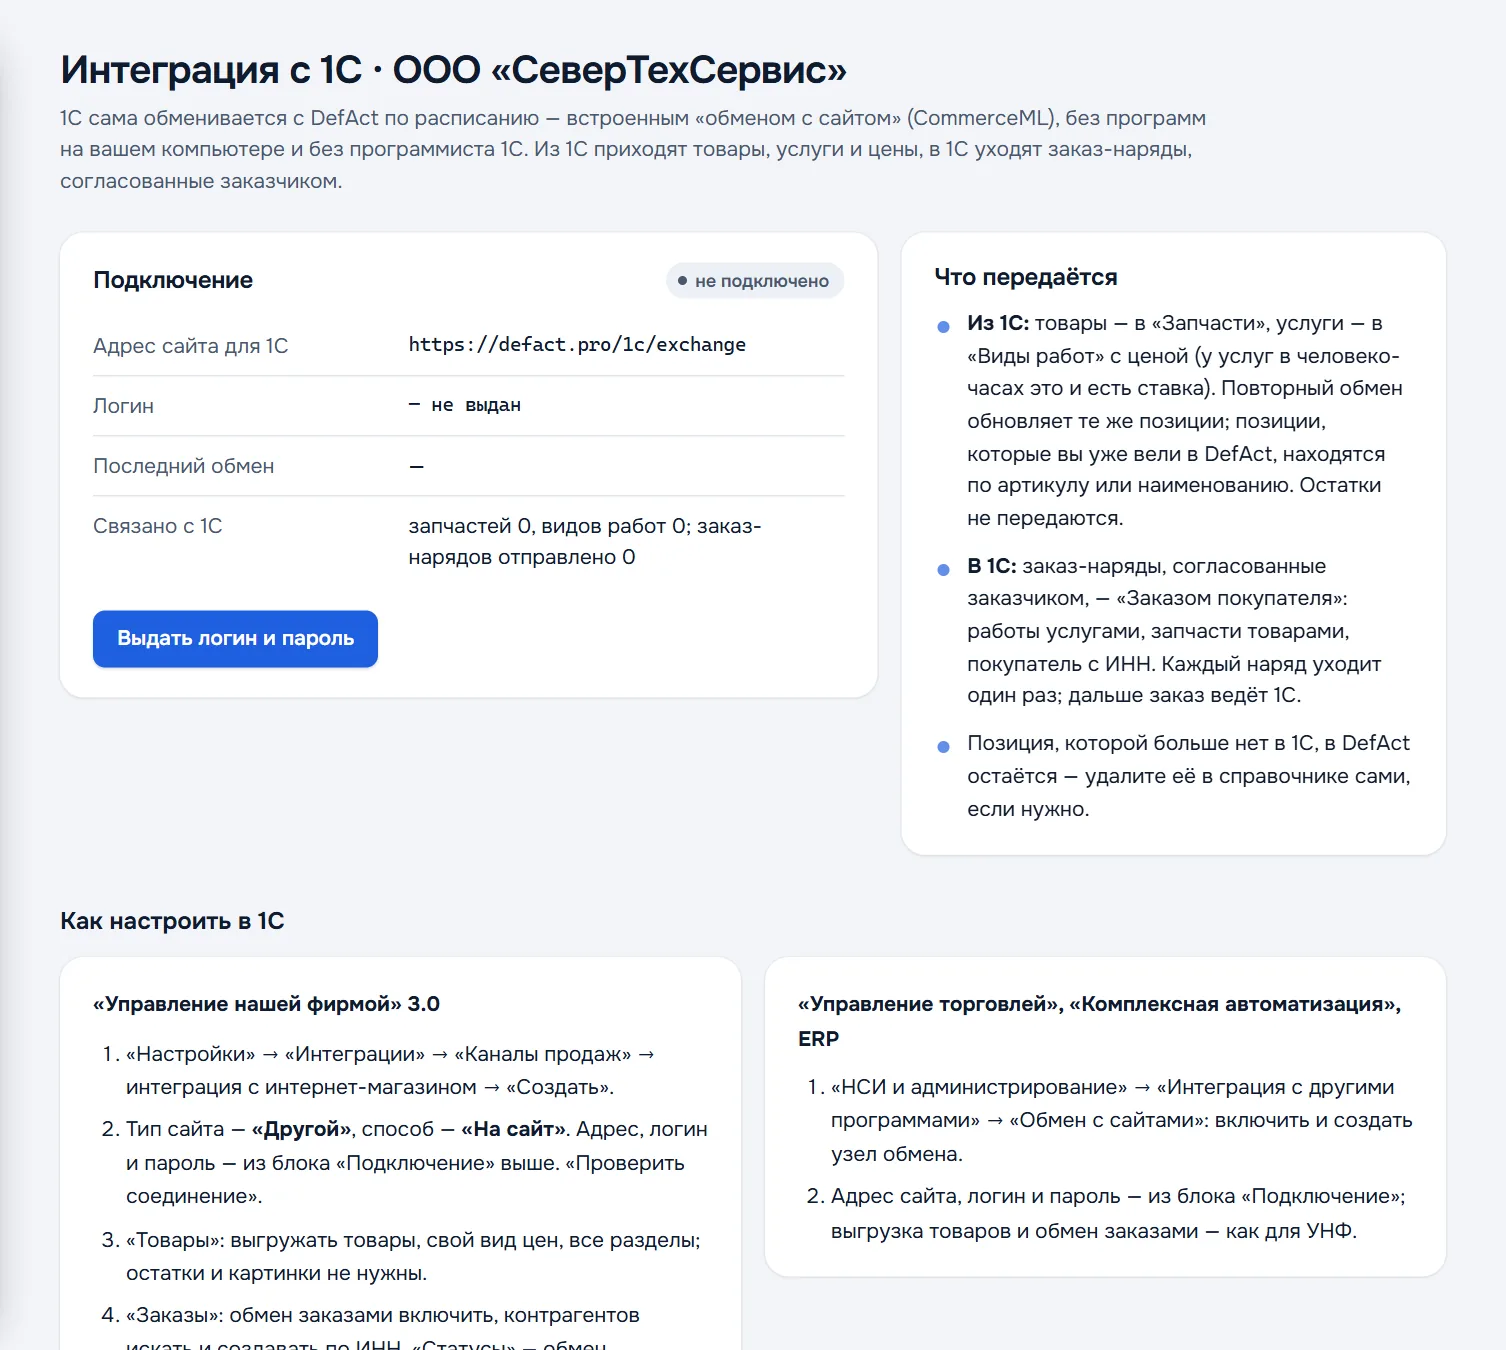
1C exchanges with DefAct on a schedule by itself — through the built-in exchange with a website. Goods, services and prices come from 1C; work orders approved by the customer go to 1C.
What is transferred
- From 1C to DefAct: goods into the Parts directory, services into Work types, with a price. For services in man-hours the price is the labour-hour rate. A repeated exchange updates the same items; items you already had in DefAct are found by article number or name. Stock balances are not transferred.
- From DefAct to 1C: work orders approved by the customer, as a Customer order: work as services, parts as goods, the buyer with a tax number. Every order goes once; from then on 1C runs the order.
- An item no longer in 1C stays in DefAct — delete it in the directory yourself if needed.
No software on your computer and no 1C programmer is needed: the exchange uses a standard 1C feature.
Connecting
- In the cabinet open the 1C integration section and press Issue a login and password.
- From the Connection block copy the site address for 1C, the login and the password.
- Set up the exchange in 1C — by the instructions below for your configuration.
"Managing our company" 3.0 (UNF)
- Settings → Integrations → Sales channels → integration with an online store → Create.
- Site type — Other, method — To a site. Address, login and password — from the Connection block. Press Check connection.
- Goods: export goods, your price type, all sections; balances and images are not needed.
- Orders: enable order exchange, find and create counterparties by tax number. Statuses — turn status exchange off.
- Finish and run the exchange; after that it runs on a schedule.
"Trade management", "Complex automation", ERP
- Master data and administration → Integration with other programs → Exchange with sites: enable it and create an exchange node.
- Site address, login and password — from the Connection block; goods export and order exchange as for UNF.
If it does not work
- Item names differ a little between versions. If an item is missing, find it with the menu search by the word "site".
- Choose exchange with a site, not "Data sync": the latter is for exchanging between two 1C databases.
- After the first exchange 1C sends only changes. If you changed the address or password and the catalogue did not arrive, change any item or run a full export.
- Every exchange is written to the exchange log at the bottom of the section — it shows whether 1C reached the server and when.