Photos and signatures
Photos go on the equipment, a defect or an inspection stage, annotated with arrows and boxes. Signatures are drawn with a finger on the phone screen or with a mouse on the computer.
Adding a photo
Photos are added where they are needed: "Condition before defect detection", the defect card, an inspection stage, the Photos section of a work order. Press Add photo:
- Take a photo — with the phone camera;
- Choose from gallery — ones already taken;
- Choose files — on a computer.
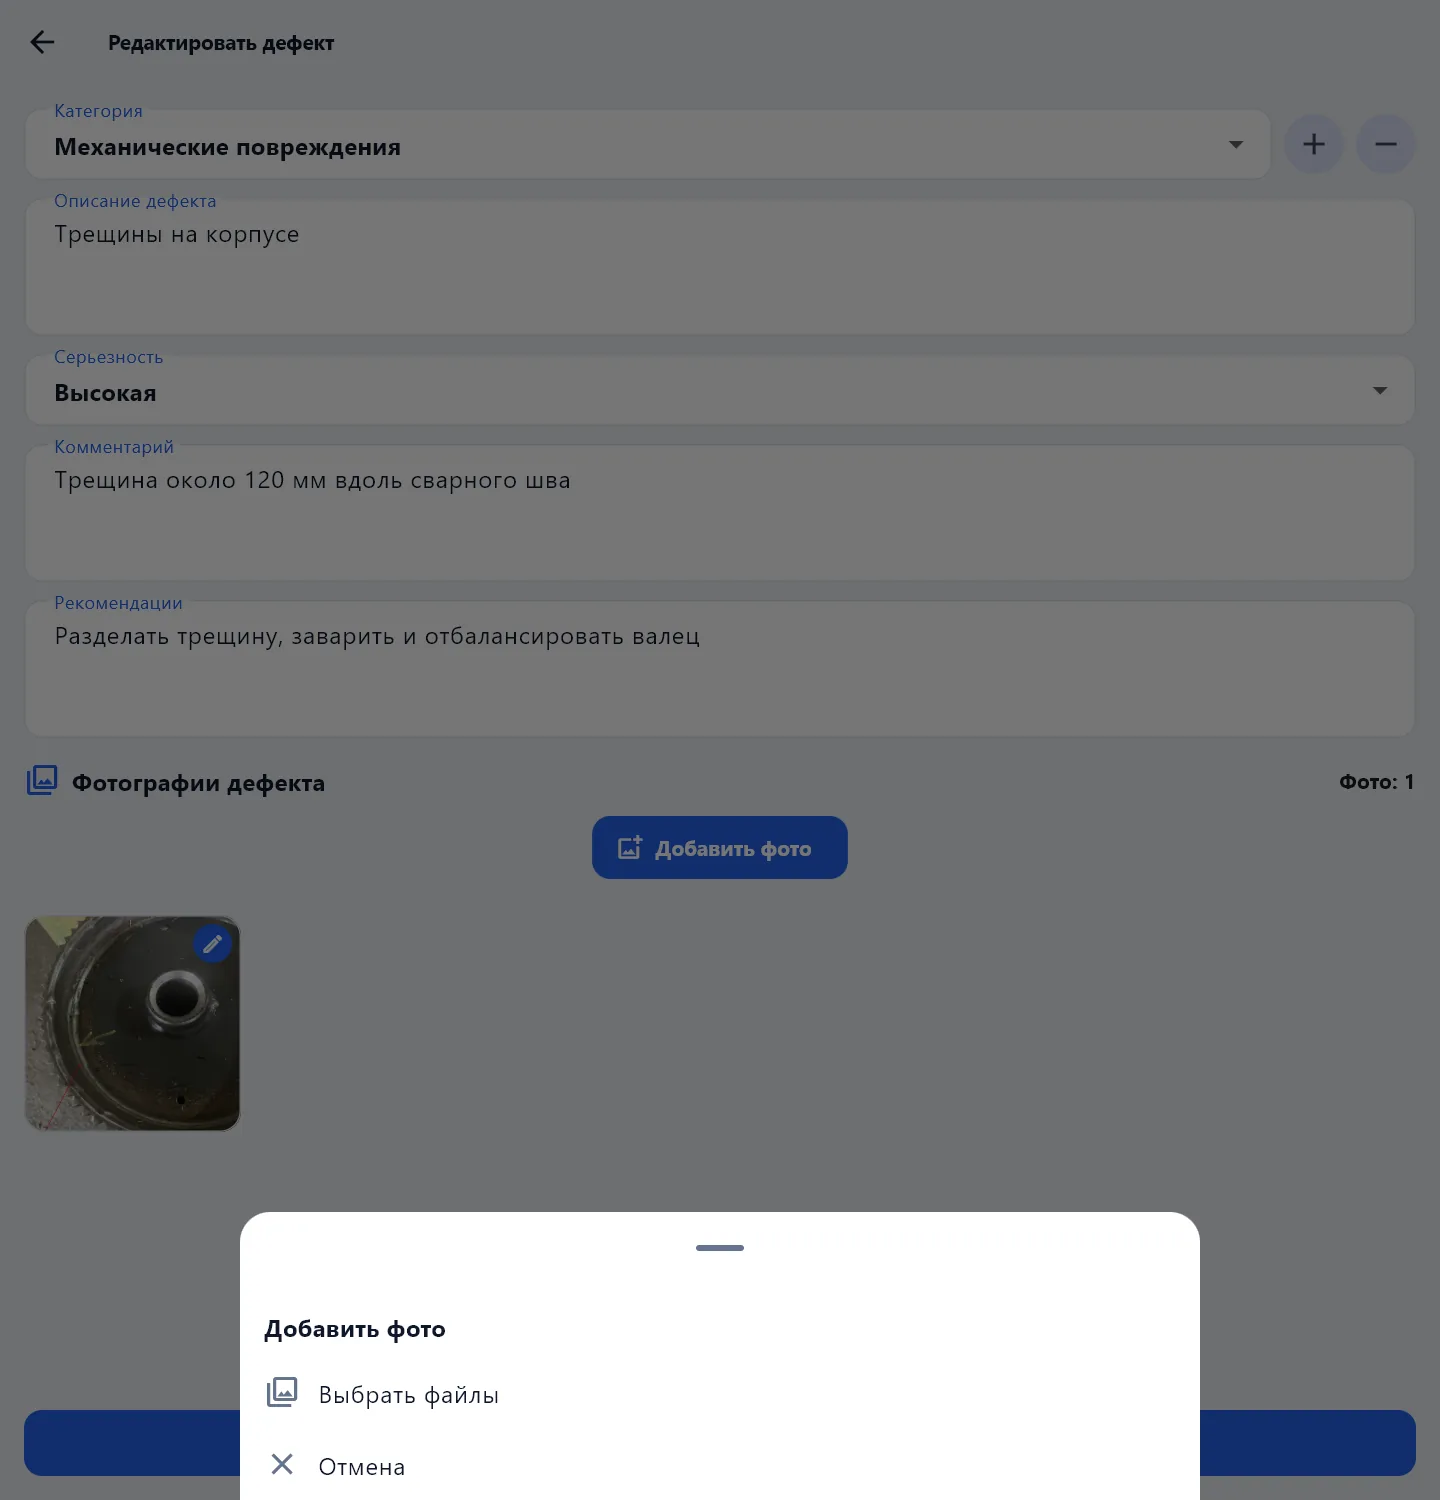
Tap a photo to open it, replace it or delete it.
Annotation
Show the customer where to look: open the photo → annotation.
- Arrow and Rectangle — drawn with a finger or a mouse;
- Colour — red, yellow, green, blue, black or white;
- Delete — remove the selected mark, Reset — remove all annotation.
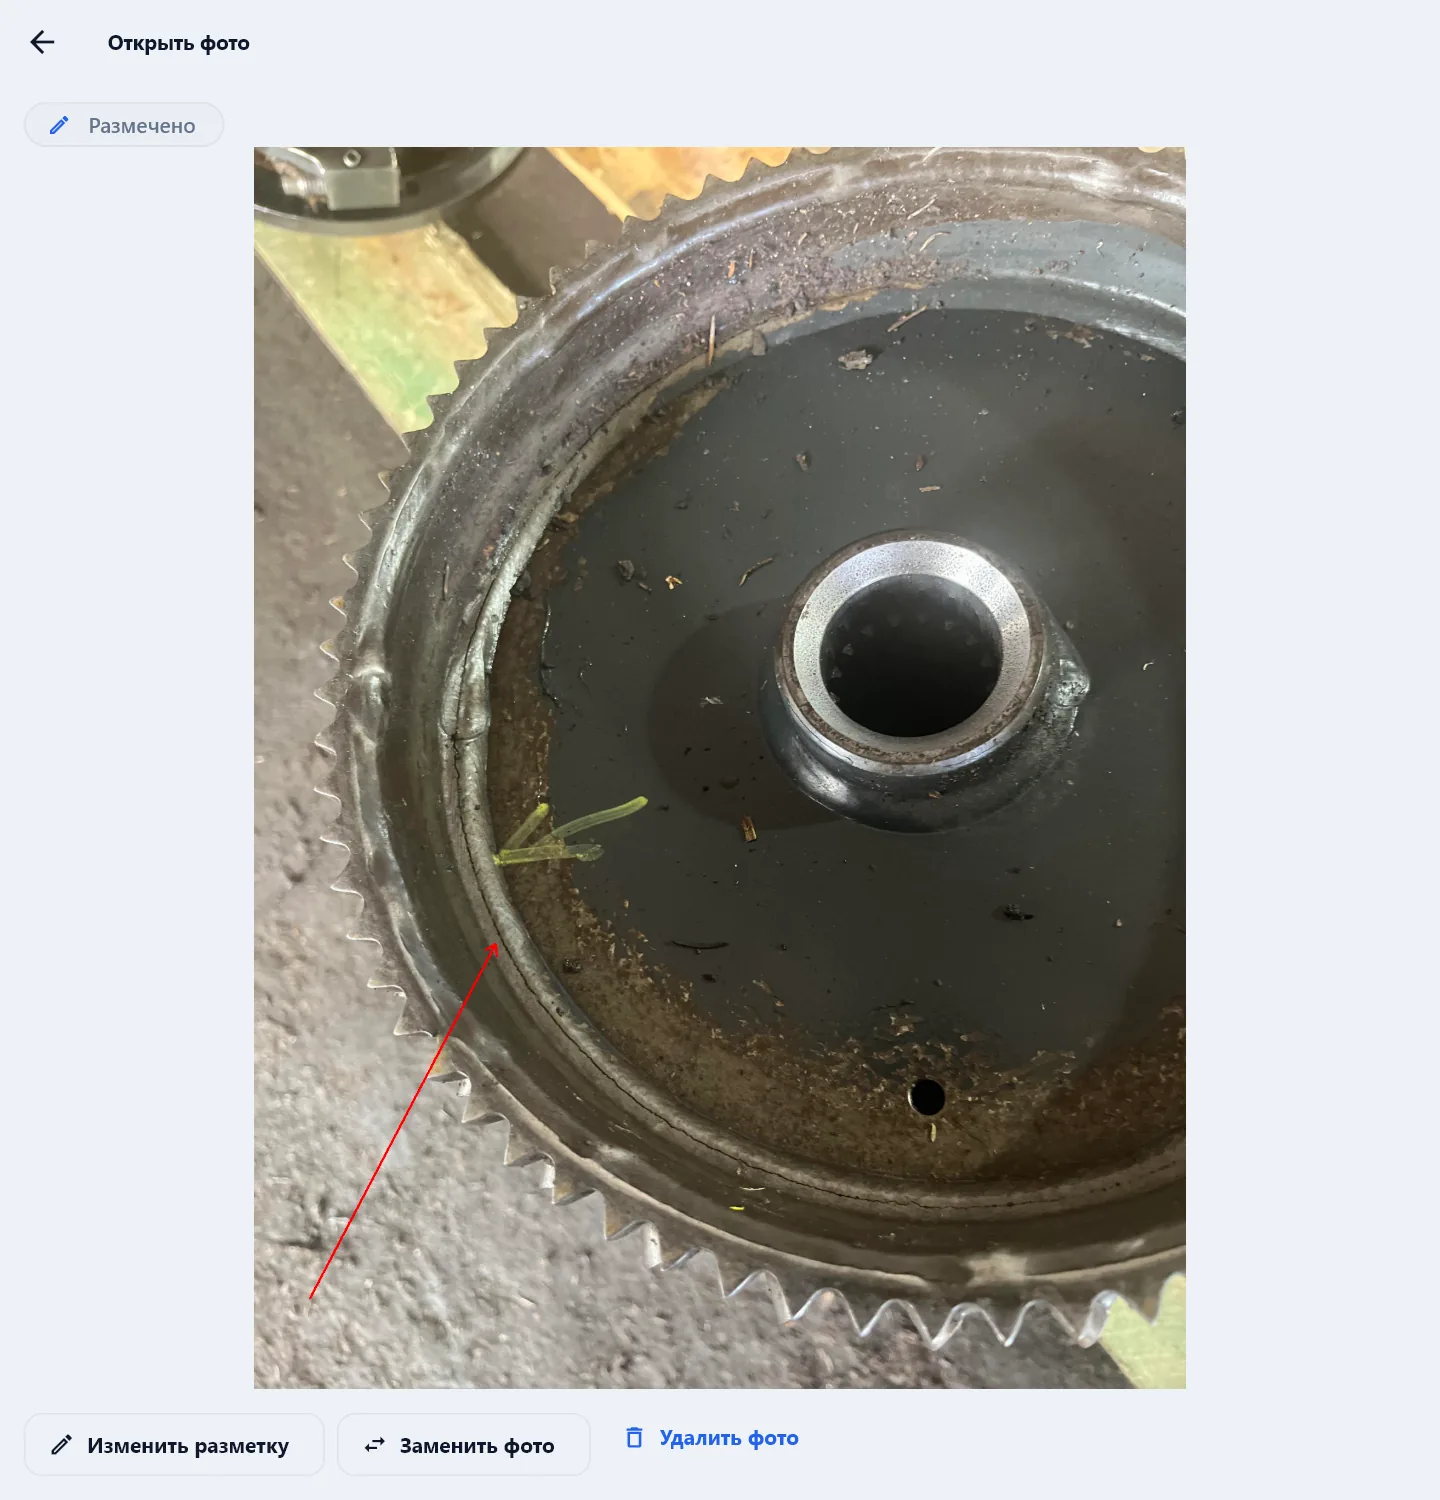
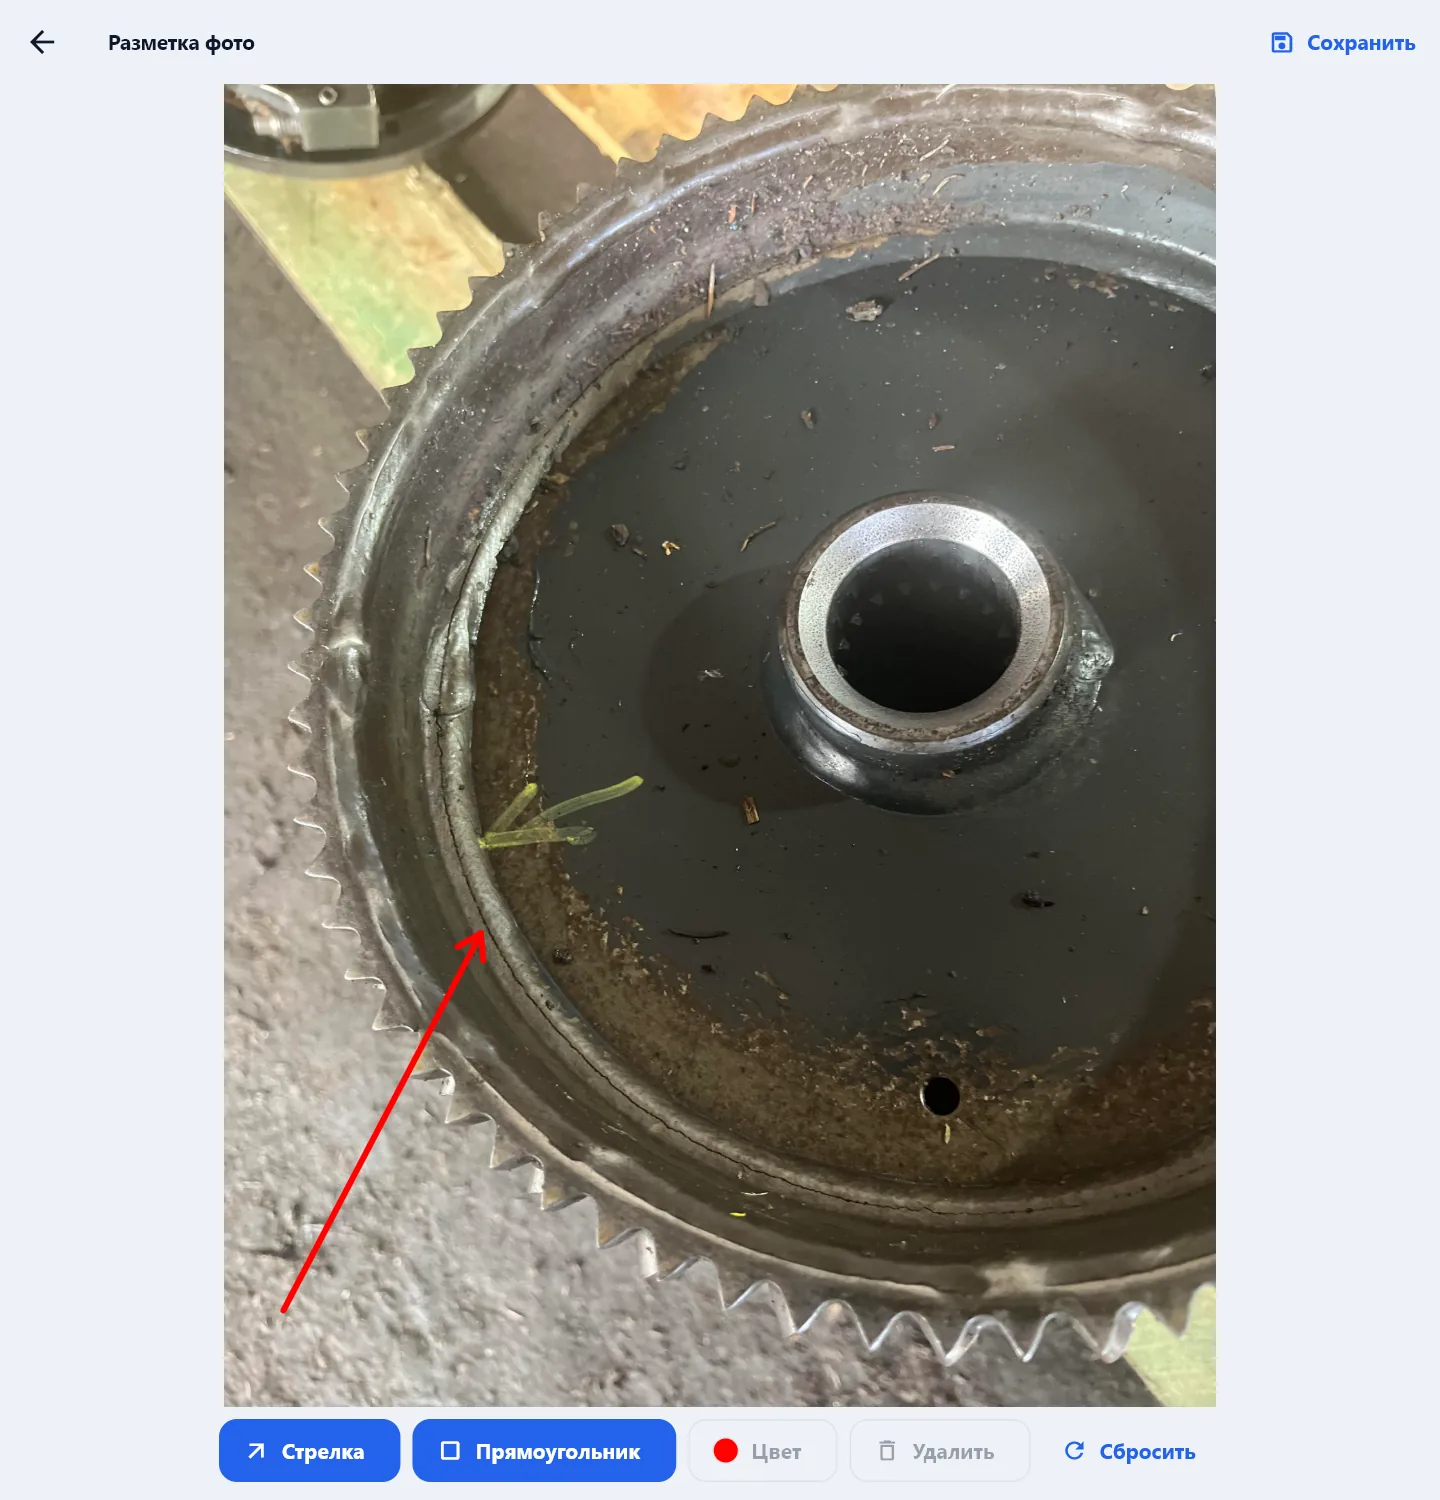
Press Save. The photo gets a "Annotated" mark, and the original is not damaged: the annotation can be changed later. The marks are visible both in the PDF and in the customer's cabinet.
Photo quality
Photos are the main source of traffic during sync. In Settings → Sync → Photo quality:
| Mode | Size | When to choose it |
|---|---|---|
| Economical | Up to 1600 px | Mobile internet, enough for documentation |
| Standard | Up to 2048 px | Clear photos in the PDF at a modest size |
| Maximum | No downscaling | Every small defect matters; traffic is many times higher |
The setting applies to new photos.
Signatures
The Signatures section at the end of the document → Add signer:
- Party — the company or the customer.
- The signer's name and position.
- Sign — draw the signature in the field with a finger or a mouse and press Save signature; Clear starts again.
- Save.
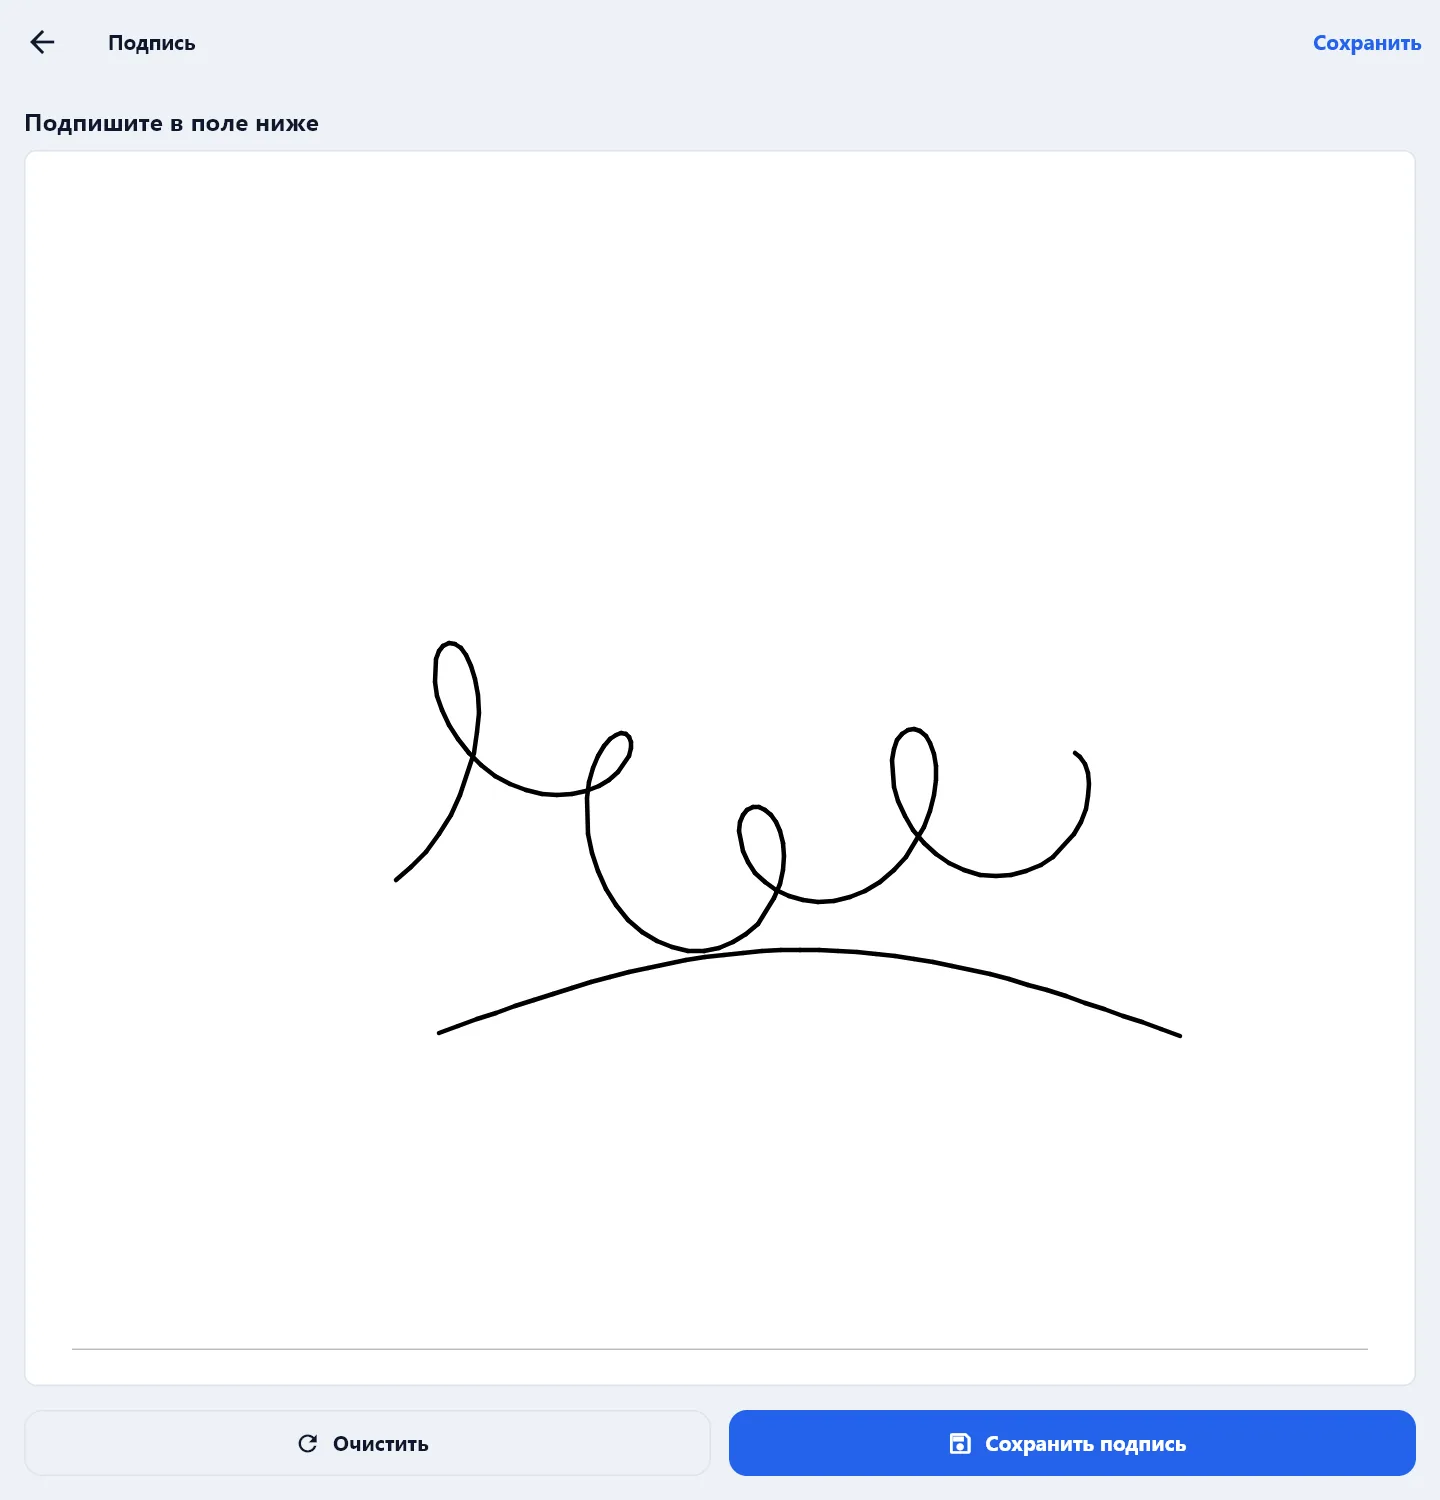
Usually two people sign: the technician and the customer's representative. A signature can be redone — open the signer and sign again.
If there are no signatures, the app warns during the check; the PDF can still be built — Continue without signatures — and the customer approves the document in their cabinet.